Monday, November 28, 2011

This.is.serious.


Very, very serious!
The following post is my secret weapon.
I have about 3 secret weapons, this is the most closely guarded.

My secret weapon is Molasses Cookies.

They are loved by all, even if you don't know it yet...you love these cookies.
It's very important to follow the directions just as they say. If you leave out anything they don't come out just so. They are not hard, just specific. Ok, you ready??

Molasses Crinkle Cookies
1 cup very soft butter
1 cup packed brown sugar
1 egg
1/4 cup your choice molasses*
1/2 cup dry milk powder
2 tsp baking soda
1/4 tsp salt
1/2 tsp ground cloves
1 tsp cinnamon
1 tsp ginger
2 1/2 cup all purpose flour

*You may not be a health food store freak like me, so let me explain. There are a ton of different kinds of molasses. Molasses are GREAT for you. For me, when my iron is low I try to add a bit of molasses to my diet. I like molasses milk instead of chocolate milk! ANYWHO, use the molasses you like! It's amazing how very different the cookies taste with different types of molasses. If you are new to molasses I suggest you just use a random variety from the grocery (Like Karo would be fine). If you are a molasses pro, go with the blackstrap molasses. Your cookies will be SOOO moist and rich! But I think if you're not used to the rich, thick blackstrap molasses it might be shocking for you.*


Let's get started!

Cream the butter and brown sugar until it's smooth. The softer the butter the easier this will be.

Just beat until well incorporated.

I always have dry milk powder at home. I have found no other use for it than the cookies!

Add your dry milk, egg and molasses. Mix those well.

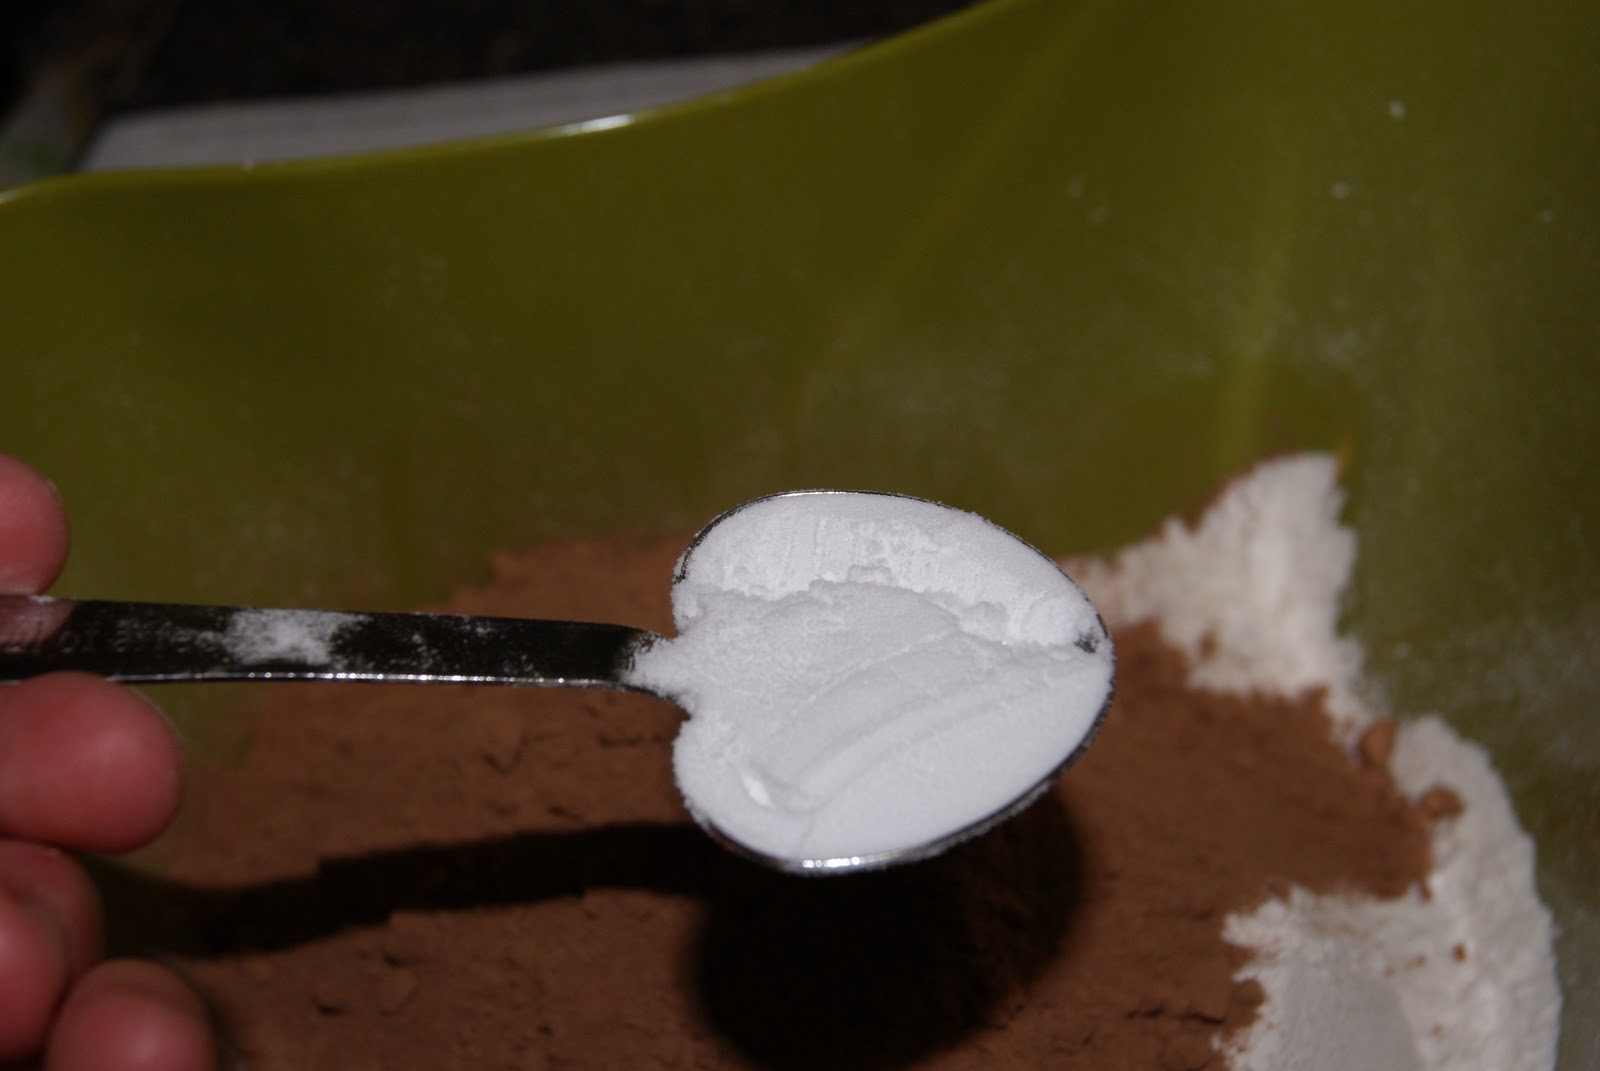
Add your baking soda, salt and spices. Then add your flour a little at a time. Dough should be very stiff.

Now, put the dough in the fridge for at least 20 minutes. Longer would be better. You want this dough super cold. If you try to roll out the dough before it's cold, you will regret it.

See the difference? It is so easy after the dough is cold.
Here's what you do:

Spoon out some dough and roll into a ball. I took these cookies to a gathering, so I went with a teaspoon of dough for easy pick up. They are beautiful cookies, they always come out looking perfect and not all crazy shaped.

You roll the cookies in granulated sugar.

Then place about 2 inches apart on your sprayed cookie sheet!

Put a drop of water on each cookie. Here's what I do, I put my finger in water and just put a little indent in the cookie. It makes them come out perfectly shaped. Not alot of water here, just a drop.
Bake at 375 for 10-12 minutes!

MMMM, sooo good!
They are truly delicious!
They are what the hubs wanted after Basic!


Molasses Crinkle Cookies
1 cup very soft butter
1 cup packed brown sugar
1 egg
1/4 cup your choice molasses*
1/2 cup dry milk powder
2 tsp baking soda
1/4 tsp salt
1/2 tsp ground cloves
1 tsp cinnamon
1 tsp ginger
2 1/2 cup all purpose flour

Preheat to 375˚

Cream the butter and brown sugar.
Add dry milk, egg and molasses, mix well.
Add baking soda, salt and spices. Add flour gradually.
Beat until it has a dough like consistency.
Put dough in the fridge for at least 20 minutes.
Spoon out dough and roll into a ball and then roll in granulated sugar until coated.
Put on cookie sheet and add a drop of water on each cookie.
Bake for 10-12 minutes.

Thursday, November 17, 2011

You need this in your life!

Oh boy! I cannot wait for you to read and try this. God Bless Pinterest!

I had a Butternut Squash that I had to do something with and pinterest was up to the job!

So here's what we're going to make (We as in you too!) You need it, no kidding!

Roasted Butternut Squash Ravioli with Sage Brown Butter Sauce!
This sounds fancy schmancy, but it is so easy! If you take this to an event you will be hailed a hero and master chef (that's what I'm going for anyway).

Here's what you need:
1 butternut squash
olive oil
1/2 cup parmesean
1/2 tsp nutmeg
pasta dough (don't freak out, it's easy and the recipe is below, seriously stick with me here)
2 tbsp ground sage (or about 12 sage leaves)
1 stick of butter (channel Paula)

OK, let's get started!
PreHeat to 425 degrees!

This is the hardest part folks. Take your peeler and peel the squash.

Cut in half and scoop out the stuffin's!

Cube the squash, try to keep with a consistant size. Drizzle with EVOO and a little S&P. Another requirement is to rock out on your pink iPhone to Pandora!

Cook for 25 minutes!

Oh, what a great color!

Add the nutmeg, parmesean and S&P. The Squash is tender enough that just stirring will make the squash the consistency of mashed potatoes.

Your filling is ready!

Now to the pasta dough, here's what you need:

2 cups flour
3 eggs

That's it, for real!

Flour

I added the eggs one at a time. You will have to mix and using a spoon push the flour into the mixture. Mix until the dough has formed a ball:

Amazingly quick and easy!

I don't have a pasta roller (yet) so I just rolled out the dough. Get it as think as you can without having holes in the dough.

With a biscuit cutter cut a cute little circle. Add a little squash and brush with a little water on the edge of the circle.


Pinch around the edge to secure. I started with these half circles but changed to having a piece of dough, squash and a piece of dough on top. I liked those better. Still the same concept.

In the mean time, in a pan add your sage and stick of butter and melt. You want the butter to turn to a beautiful shade of brown.


Now that you have your ravioli, drop into boiling water. Be sure your water is salted. It only takes between 2 and 3 minutes for the ravioli to be done. When the ravioli pops to the surface, it's done.

From the pot, but your ravioli into the pan with the brown butter sage sauce.

That's IT! It's really easier than you think! AND SOOOOO delicious!

You could easily use this as an entree and be fully satisfied. We made it a side item!

It was just as good as it looks.
I am so excited about making my own ravioli.

Here's what you do to freeze it. Make the pasta, don't cook it!
Lightly flour the biggest sized cookie sheet that will fit in your freezer and line up your ravioli on the cookie sheet. Once the pasta is frozen you can stack them in a freezer safe bowl and they won't stick together. Just take them out of the freezer, put them in boiling water for about 3 - 5 minutes. What a great, easy, quick dinner for those nights where you're in a hurry!

Try it, tell me how it was!


I'm addicted to wraps!

Everything wraps. If I can neatly roll it up into a hand held meal I am ALL for it. Plus, this saves alot of calories. (I've also been watching the calories! I am using the MyFitnessPal app for the iPhone..I LOVE IT! They have every possible food. You can also scan barcodes and create your own recipes and it'll calculate the calories for you! It's fantastic and it's making me drink MORE water, which is great.)

Anywho, a while back I made some chicken pastry. I happen to be one of those weird folks that doesn't want chicken in my pastry (thank you very much). So after making the stock with a ton of chicken, I strained most of it out. I then shredded the chicken and froze it.

I am also in love with garbanzo beans (Research and Development calls then Bonzi beans). So I found this nifty recipe for Rockin' Moroccan Garbazno Pita's and decide to try it.

Here's what you'll need:
1 tbsp cumin
1 tsp chili powder
1 pd shredded chicken
4 tbsp olive oil
4 minced cloves of garlic
2 rinsed cans of garbanzo beans
1 medium onion sliced thinly
1/4 cup chopped parsley
Wraps
sour cream (optional)

In a pan larger than the one I used combine your olive oil, cumin and chili powder and heat thoroughly.

Add your chicken and incorporate the spices into the chicken real good!


Add your delicious onions and

And wonderful, great gaaahhhhlic!

Add your garbanzo beans and heat through. This is such a quick recipe, especially if your chicken is already cooked. You don't have to shred the chicken if you don't want. You could have cubed or sliced chicken. I found that the shredded chicken made making the wraps super easy.

Ok, let's build the wrap

ALRIGHT! Here's what we have:
Whole Wheat Wrap
A tablespoonish of your favorite hummus
A small bed of delicious arugula (you could use spinach or leaf lettuce)
Rockin' Moroccan Chicken
A bit of shredded cheese
If you like it add a dollop of sour cream. It really makes this recipe. If you don't like it...you are SOOOO missing out!

Now, Research and Development has a very serious problem with the wrapping of a wrap so here's how it goes:


First of all don't put a ton of things in the wrap. Just a little bit and in the middle. ALSO, don't go all the way to the edge, leave some wrap on both sides because the sides you will fold up like above.

Now, while holding the sides in place with your middle finger, reach back with your thumbs and bring the part of the wrap closest to you up and over the chicken.

Now, while holding, roll the wrap and tuck everything in at the same time. At this point your wrap will hold itself together if you leave it seam side down. If you want to get fancy schmancy with it add a toothpick to both sides and cut in half. I go for it without the tooth picks, the wrap will stay together perfectly!

I was very pleased with this. It was so quick and easy. If you have the chicken already cooked it takes almost no time at all. All you have to do is slice some onions and heat. What a great quick and easy home cooked meal. So much better than a drive-thru and sooo much better for you. Tons of protein for the hubs. At 516 calories it's just the right size! I added a little green salad to the side and that was a 15 minute dinner...no.kidding!


Friday, October 28, 2011

No hey, how are you honey

I'm sorry it's been so long. Research and Development hasn't been able to eat with me at all for the last 3ish weeks. That cut down ALOT on how much I have cooked. I'm SOOOO glad that we can eat together again, I sure missed him and cooking!
When Research and Development walks in the door, some days he doesn't get a "Hey, how are you honey?" He gets a "Come here, come here! I need you to eat this!" He doesn't even get to put his bag down.
He asks, "What is it?" But usually I don't tell him until AFTER he has a mouthful :)
On Pinterest I have all these insane things that I feel the need to make, but usually it never actually happens. So in a effort to change all that, yesterday I made Chocolate Zucchini Cupcakes with Cinnamon Buttercream Frosting!
Instead of, HMMMM, I wonder how that is, I went straight to Wal-Mart and bought those zucchini's!

The last week or so has been pretty stressful week or so and as a result, I've looked at about 102394710597 baking recipes. Finally I just sucked it up, picked one and BAKED!
Right on!

So! Let's get started!
Preheat to 350

2 cups of sugar. (I should warn you that this recipe makes a TON of cupcakes. I made 15 and am freezing the rest of the batter. Freeze it in a gallon ziploc bag. When you defrost it you can just cut a corner and squirt it right into the cupcake pan!)

3/4 cup of applesauce
I hate to admit it, but this is the first time I've used applesauce to bake with. I know that it's pretty common, I've just never done it before.

Add your 3/4 cup of oil and blend on a low speed.

Slowly, one at a time add your eggs. Make sure each one is blended well before adding the next.
Then add your vanilla.

This is the only kind of vanilla flavoring that my grandma has ever used. Watkins is a Pampered Chef kind of company where you use a catalog and order through a consultant. I can always count on getting some sort of Watkins on every occasion. I found out a little while back that Cracker Barrel now sells it!

In a seperate bowl add your 2 1/3 cups flour

3/4 cup unsweetened cocoa

Add 2 tsps baking soda
1 tsp baking powder
1/2 tsp salt
1 tsp cinnamon

Do a little whisking action here to incorporate everything and make sure you don't have any lumps!

Now, every chef you see on tv has a different way to do this. Some say add the wet to the dry and some say add the dry to the wet. It depends on who you're watching. I am a fan of adding the dry (slowly) to the wet. So, turn your mixer on and slowly add your dry to your wet.

Now, for the fun part!!
ZUCCHINI! IN.MY.CUPCAKE!

Peel the Zucchini and grate!

Aren't they pretty?!?!

It took me about 2 and a half good sized zucchini's to get 3 cups of grated zucchini.
The grated zucchini had wayyy more water than what I figured them to have.


Slowly add this to your batter! Make sure it gets mixed in really well!

Look! The batter looks so funny with the zucchini in it. I must confess that I tasted the batter. It.was.delicious!

Ice Cream Scoop. SOOOO easy with an ice cream scoop.

I spray my liners with a little Pam just to make sure they will let go!
Bake for 20-25 minutes!

While they are baking, let's make the buttercream. This is my first buttercream experiment. I've always made icing with the crisco and powdered sugar way.

While you're making the batter, go ahead and get the butter and cream cheese out. They both need to be softened.

Combine well!

Add 1 1/2 tsp cinnamon
1 1/2 tsp vanilla
3 1/2ish cups of powdered sugar
1/3 tbsp milk

Get your desired consitancy. If it's too thick add a little milk. Only about a teaspoon at a time. If it's not thick enough add more powdered sugar, tablespoon at a time.
Powdered sugar will explode in your mixer if you add it ALL at one time or if you turn the mixer up. Add slowly and on low!!

Look! I LOVE the colors of this buttercream. It's soo good too! It's super sweet!

This cupcake is outrageous!
It is so moist!
I was scared that the consistency of the zucchini would remind me of that disqusting shaved coconut, but it cooked down and vanished!
There is absolutely NO WAY that anyone will be able to tell the zucchini is in there!
Cupcake success!!